Classic Trampoline Instructions for 10ft and 13ft
Instruction Manual
Assembly Requires Two People
Tools needed: Philips Screw Driver, Spring Tool, 13mm Spanner (provided)
-
SETTING UP THE FRAME
Step by step on how to put your trampoline frame together.
Read More
-
ATTACHING THE JUMP MATT & PADDING
Step by step on how you attach the Jump matt & Padding to your trampoline frameRead More

-
SETTING UP THE NETTING
Step by step on setting up the netting on your trampolineRead More
-
GET JUMPING
Your JUMPIRE Trampoline is complete and safe to use.
Read More
SETTING UP THE FRAME


STEP 1
- Lay out the top rail sections with all the spring holes on top to form a circle
- Each top rail has one end a larger diameter than the other, place a frame connector on the large end of a top rail (you may need to open the connector slightly by pulling it apart),
- The square holes on the connector should face to the outside of the circle, these connectors are also used to hold the legs on so the open end needs to be facing toward the ground.
- Then slide the small end of the next top rail inside and fit the bolt making sure the threaded area is inside the circle, spin the nut on by hand ( we will tighten them a later stage).
- Repeat this process to connect the whole circle
- To fit the last section requires two people, one needs to hold the frame tightly at the opposite side while the other brings the final small top rail end into the connector beside it and fit the bolt and nut
STEP 2
To assemble the trampoline frame legs;
- Fit each ‘U’ shaped leg to two of the short leg extensions
- Insert the 6mm screws to hold them together but do not tighten them completely yet (you will be told later in the instructions when to do this)
- Repeat this until the all the legs are done.


STEP 3
Conneting the frame rim to the frame legs;
- One person lifts the circle and another person inserts the leg into place
- Fit the bolt through the holes of the frame connectors with the threaded end to the inside
- Spin on the nuts by hand
- Repeat this until all the legs are in place
- Tighten the screws at the bottom of the short leg extensions
- Lastly, tighten both bolts and nuts in all the frame connectors
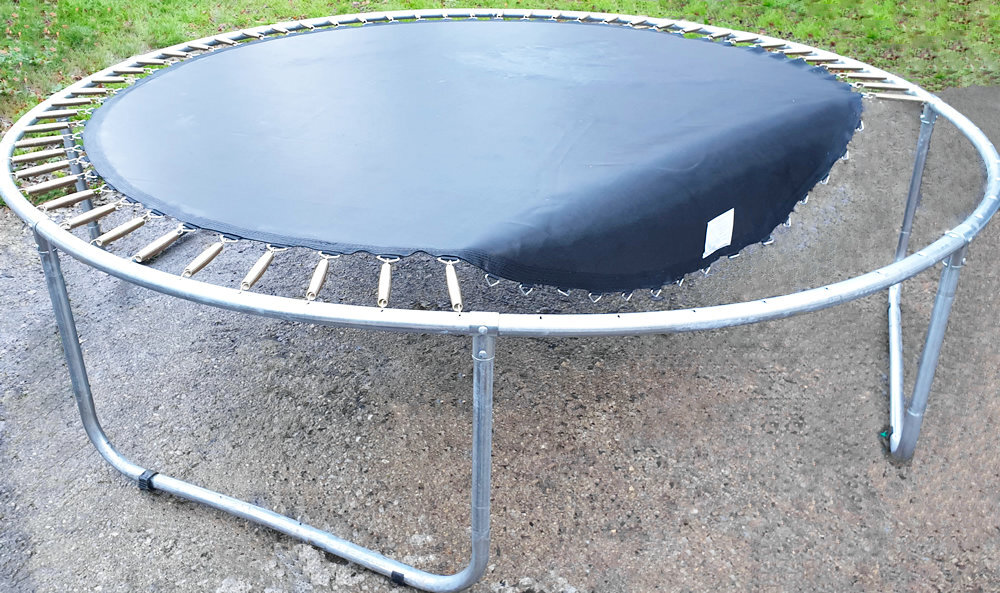
STEP 4
Now our frame is finished and ready for the next stage

THE JUMP MAT & PADDING


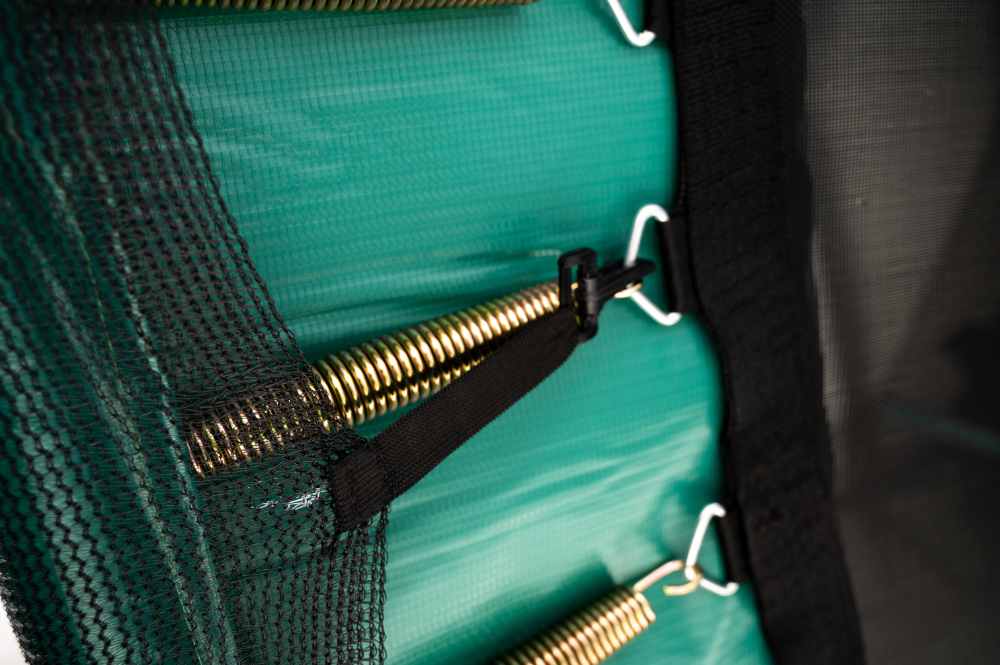
STEP 1
- Start by placing the jump mat inside the frame with the large white label on top
- On each spring you will see one end has a more closed hook, this end connects to the jump mat first
- Then the more open end of the spring fits into the holes in the frame
- After connecting the first spring, fit the next one directly opposite it, to do this accurately it is required to count the d-rings on the jump mat and the holes in the top rails of trampoline frame to make sure it is positioned correctly

STEP 2
- Next place another spring halfway between each of the already attached springs on both sides of the trampoline
- As before, count the D-rings/top rail holes to make sure they are correct.
- Then proceed with attaching the rest of the springs, ensuring to check you are connecting the more closed end to the jump mat each time and using the spring tool

- Please use the Spring tool to help throughout this process.
- Always attach the spring to the D Ring on the Jump mat first and using spring tool stretch it out toward and into the hole in the frame.


STEP 3
- Layout the coloured padding in place over the frame and springs
- Start to attach the padding with the elastics on the outside of the padding, these can be tied around the frame
- Then find the elastic ties on the inner diameter of the padding and tie to nearest Jump mat D-ring
- Finally fold the outer apron down around the top rail and pulling tightly on the pull cord tie it off
Tip – Tie the elastics with a bow, this makes it easier if you need to disassemble the trampoline in the future
SETTING UP THE NETTING
This section shows you how to assemble the enclosure poles, clamp them to the trampoline, fit the netting and secure the bottom ties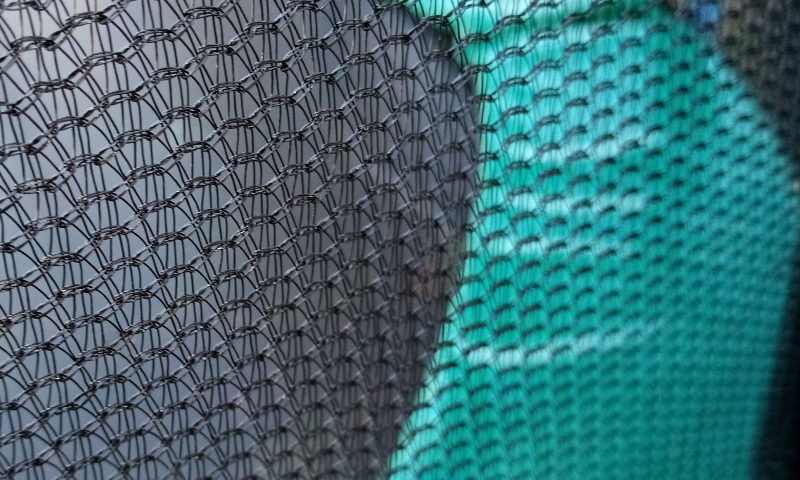

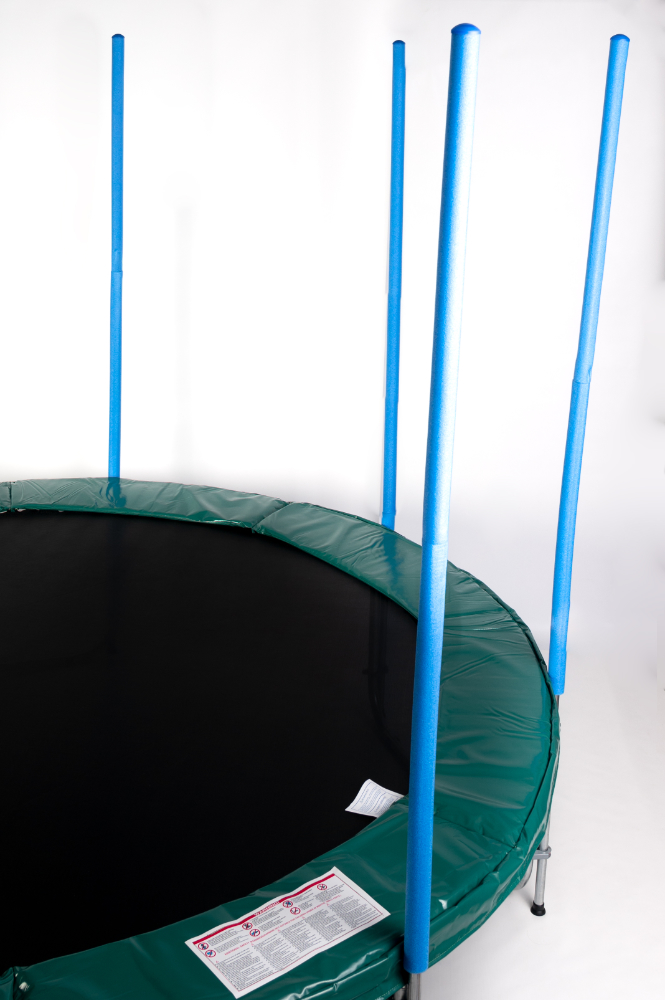
STEP 1
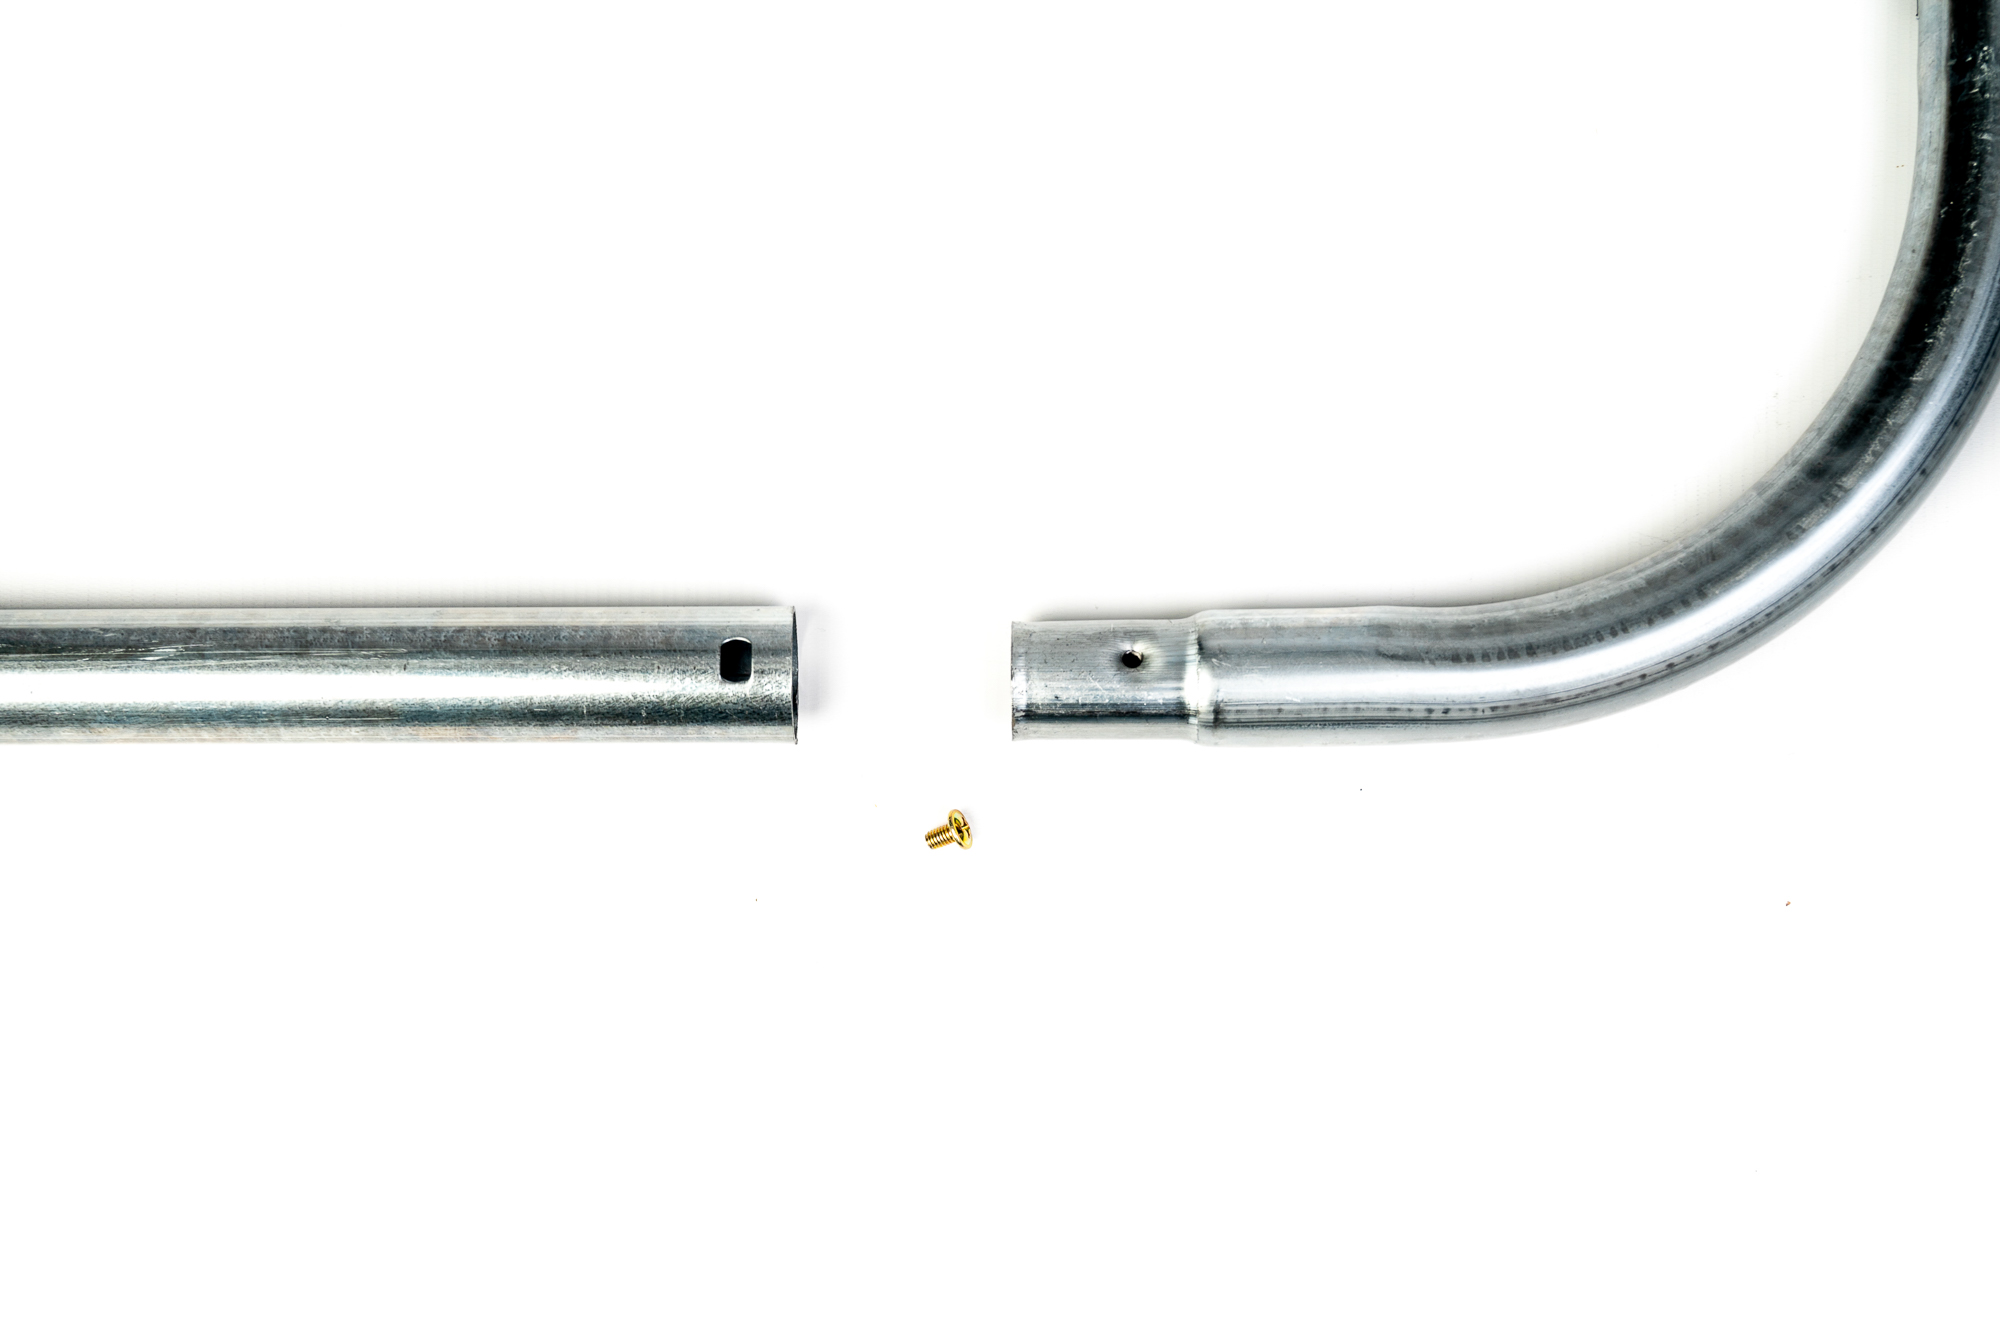
- Each enclosure pole comes in two parts, an upper and a lower
- The upper part is distinguished by the blue domed cap on one end
- This cap must be in place as it prevents the metal pole from making a hole in the netting sleeve
- To connect the two halves simply place the upper on top of the lower and tap them on solid ground to secure them into place

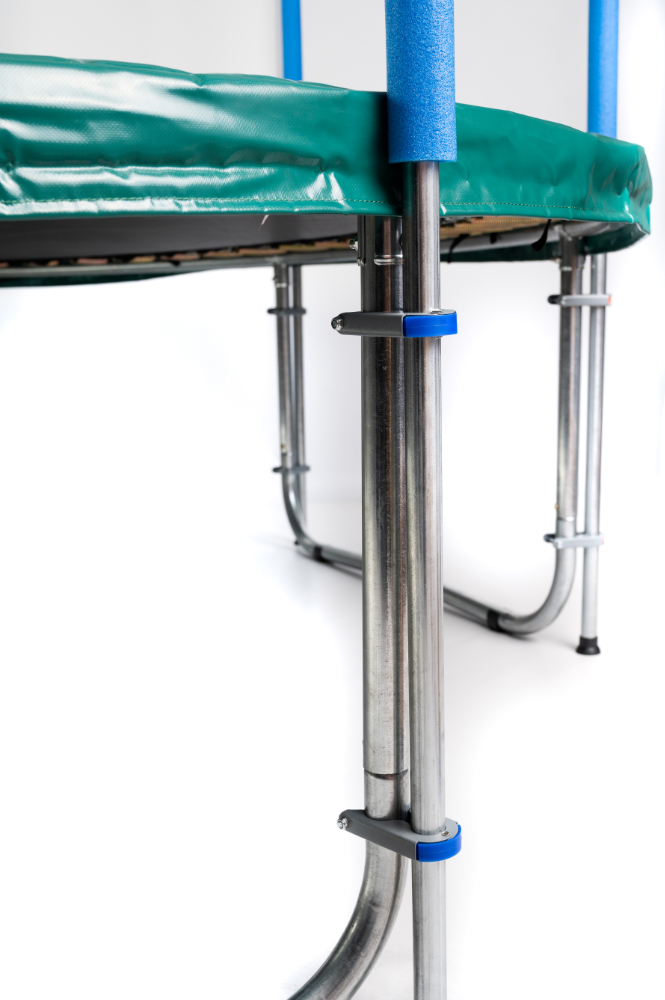
STEP 2
- Each pole is mounted to the trampoline leg using two of the clamps supplied, make sure there is at least 30cm between each of the clamps.
- The height of the pole on the frame leg may need to be adjusted, there needs to be 1.8metres of pole above the trampoline frame (this is the height of the netting)
- Repeat this for all poles
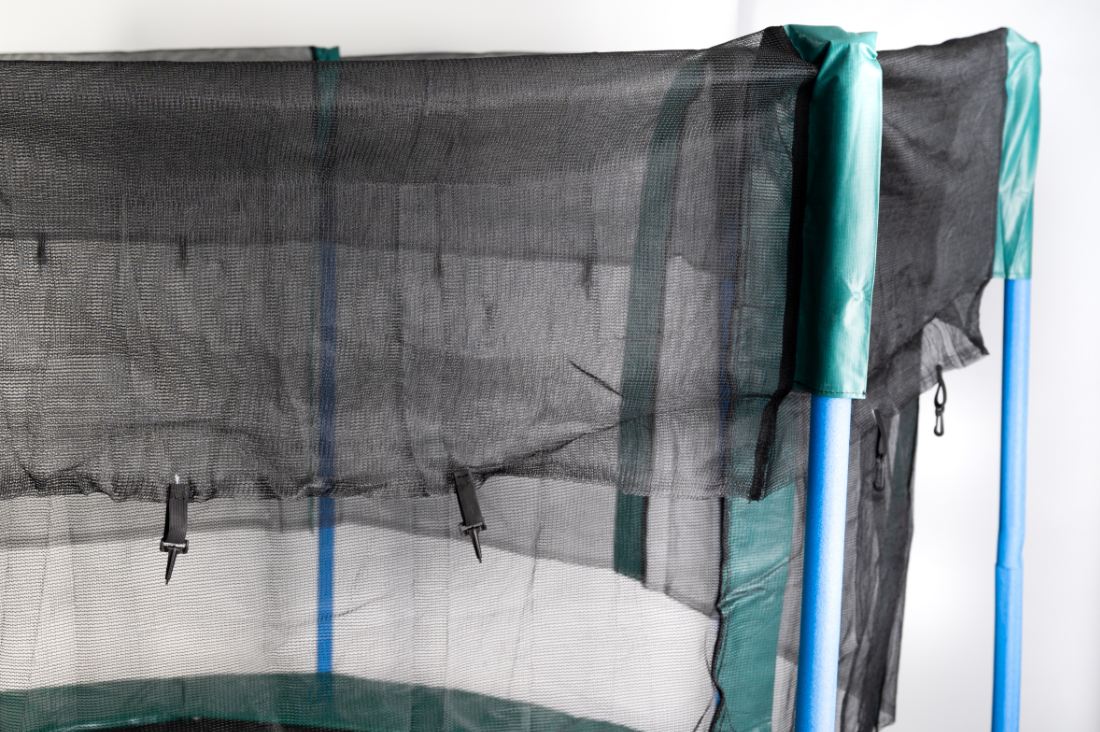

STEP 3
- To fit the netting, place a green netting sleeve on top of a pole and pull it down approx 30cm, (please make sure that the green sleeve is to the outside of the black mesh)
- Then do the same with thee next sleeve on an adjacent pole pulling down approx 30cm
- Repeat this for all the sleeves over all the poles working in a circle pulling each sleeve down by approx 30cm initially
- Then pull the sleeve down another 30cm approximately on each pole again working in a cirlce
- Repeat this for all the sleeves over all the poles working in a circle pulling each sleeve down by approx 30cm at a time until the netting has came down as far as it can to the frame
Note if the seeve is pulled down all the way on one pole first you will not be able to get the adjacent poles sleeve on therefore this method works best
Also please note at start to ensure netting is not inside out or it will not fit, i.e. that the green sleeves are on the outside of the netting
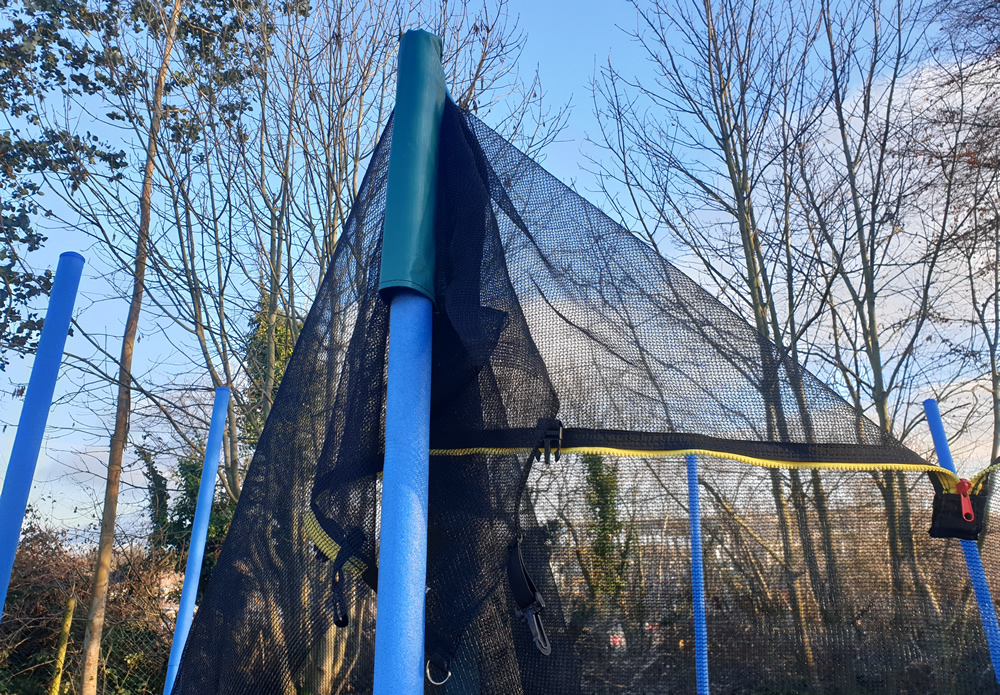
STEP 4
Next at the netting opening we will install the ladder and finally to secure the netting at the bottom make sure the zip for the entrance is fully closed, and clip the two straps together directly underneath. Then left and right of the entrance attach the black clips on the elastics ties to the nearest Jump mat D-ring, secure the ties left and right of the opening first and then work your way all around
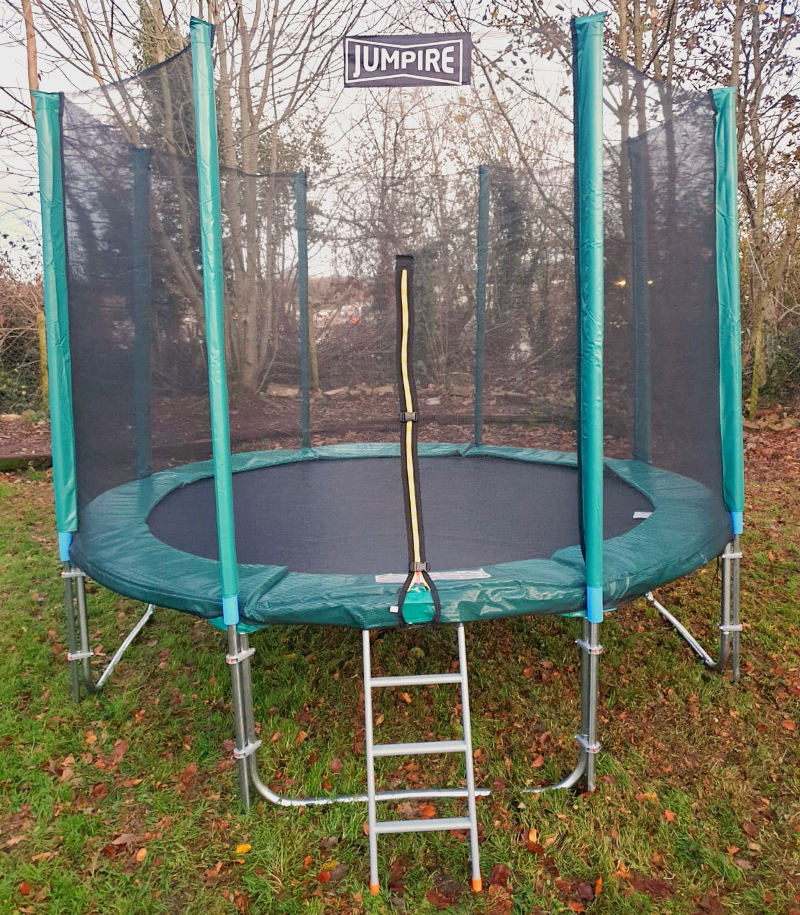
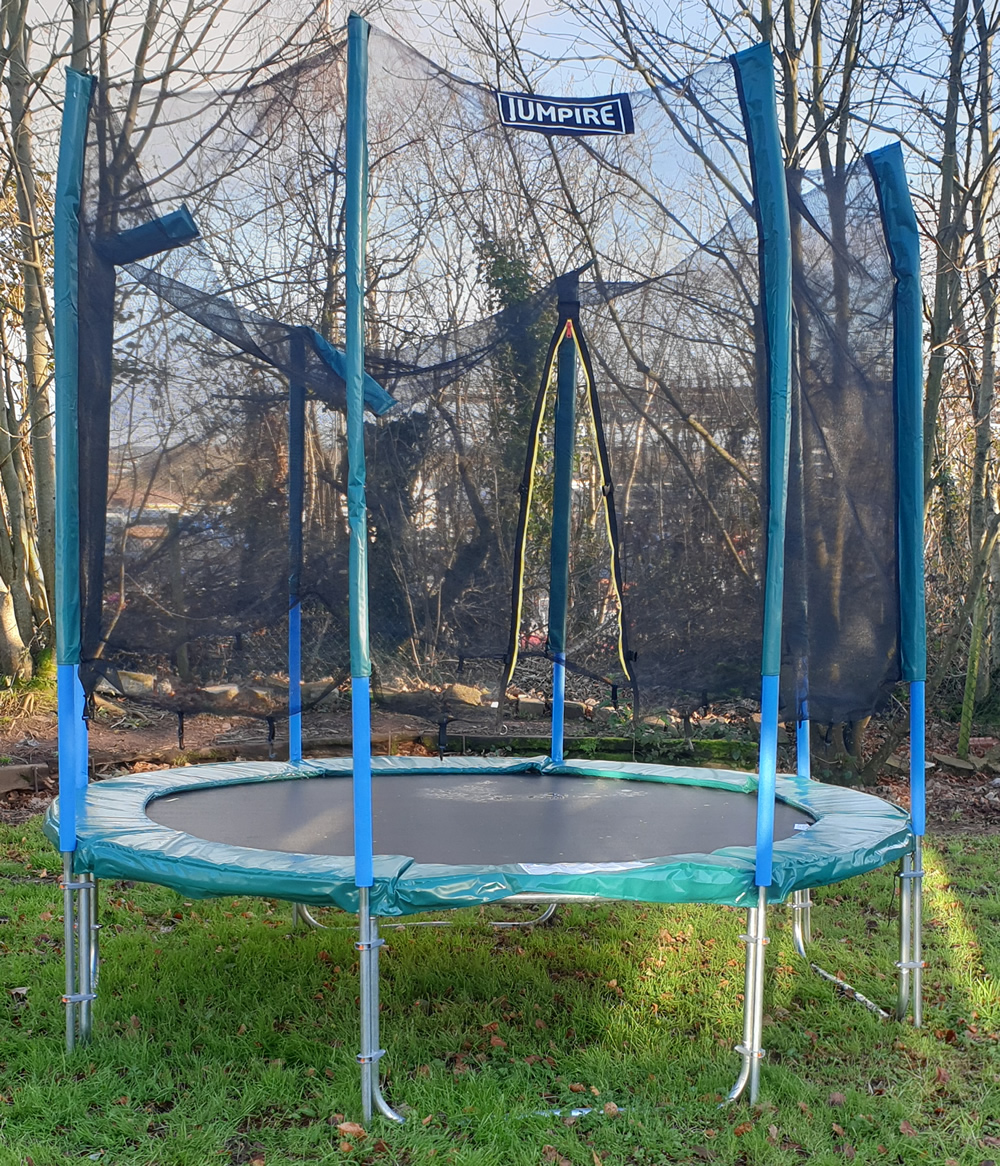
Your Completed JUMPIRE Trampoline
- Please ensure zip is safely closed while on the trampoline
- Only one bouncer at a time
- No shoes
- No hard objects in there with you
- Most importantly – Happy Bouncing